A room-by-room solid hardwood installation in an occupied St. Cloud
home, completed with careful furniture moves, concrete-slab preparation,
full-spread adhesive, and matching stair work.
ResidentialSolid HardwoodGlue-DownSt. Cloud, FL
Project Overview
This St. Cloud, Florida homeowner wanted the warmth and permanence
of solid hardwood throughout the main living areas, kitchen, and
stairs. Because the client was living in the home during
construction, the installation required more than a precise
flooring layout: it required a carefully managed plan for moving
furniture, protecting finished surfaces, and keeping the household
functional while each area was completed.
The home’s concrete slab and Florida humidity also made moisture
testing and subfloor preparation essential. Cavalieri Flooring
planned the work in controlled sections, installed the hardwood
with a full-spread flexible adhesive, and coordinated the sequence
so completed areas could remain protected while the next room was
prepared.
The Hardwood Installation: Kitchen and Main Living Areas
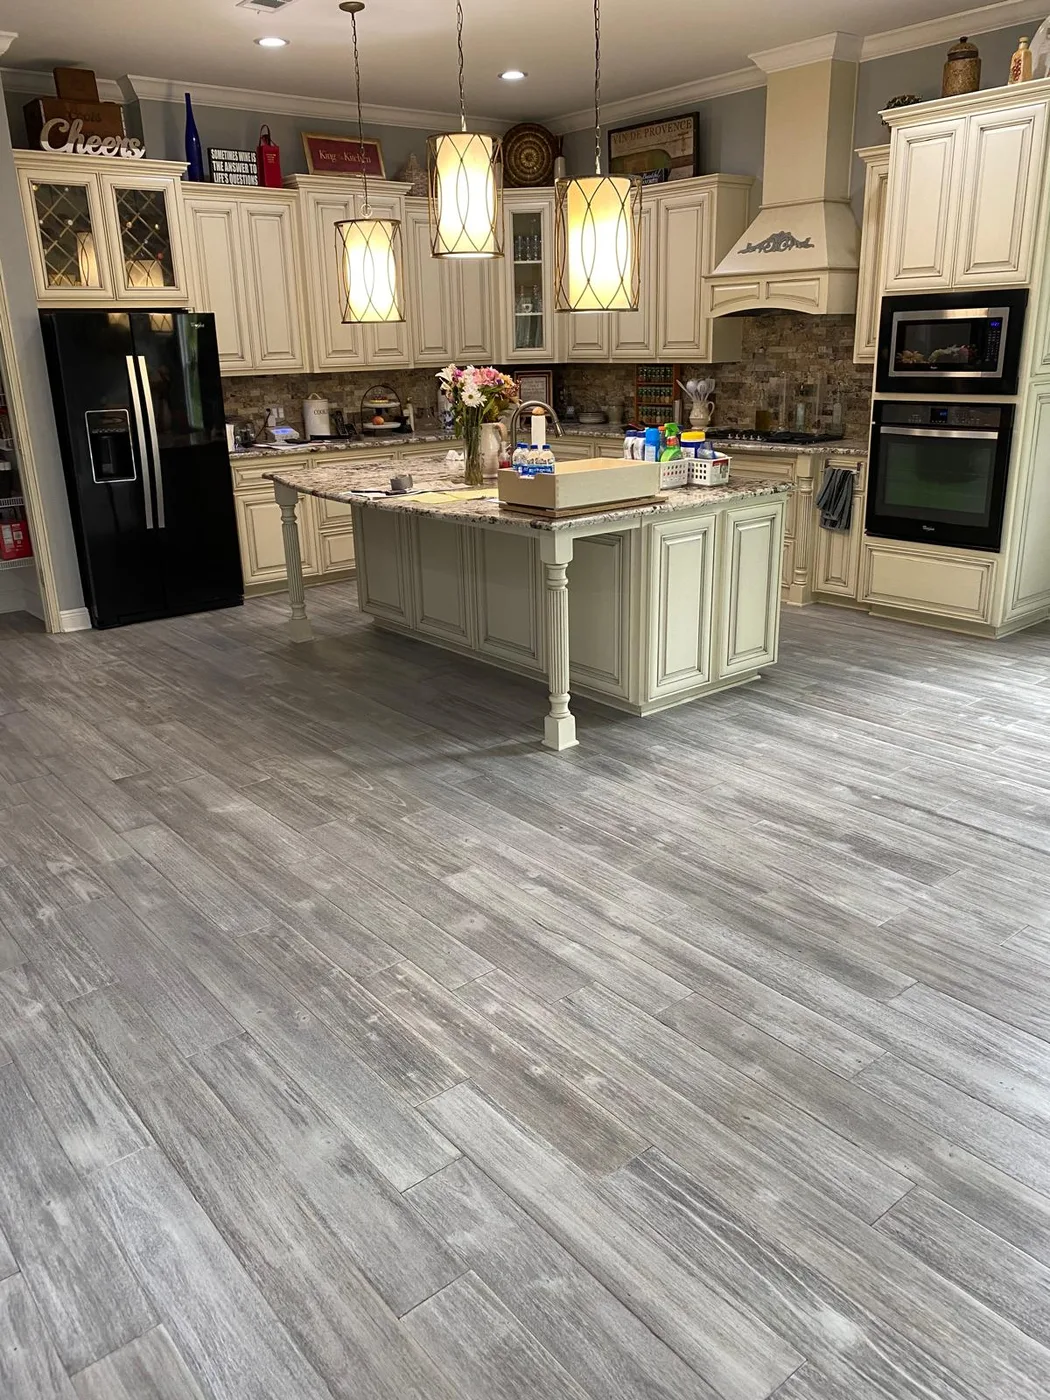
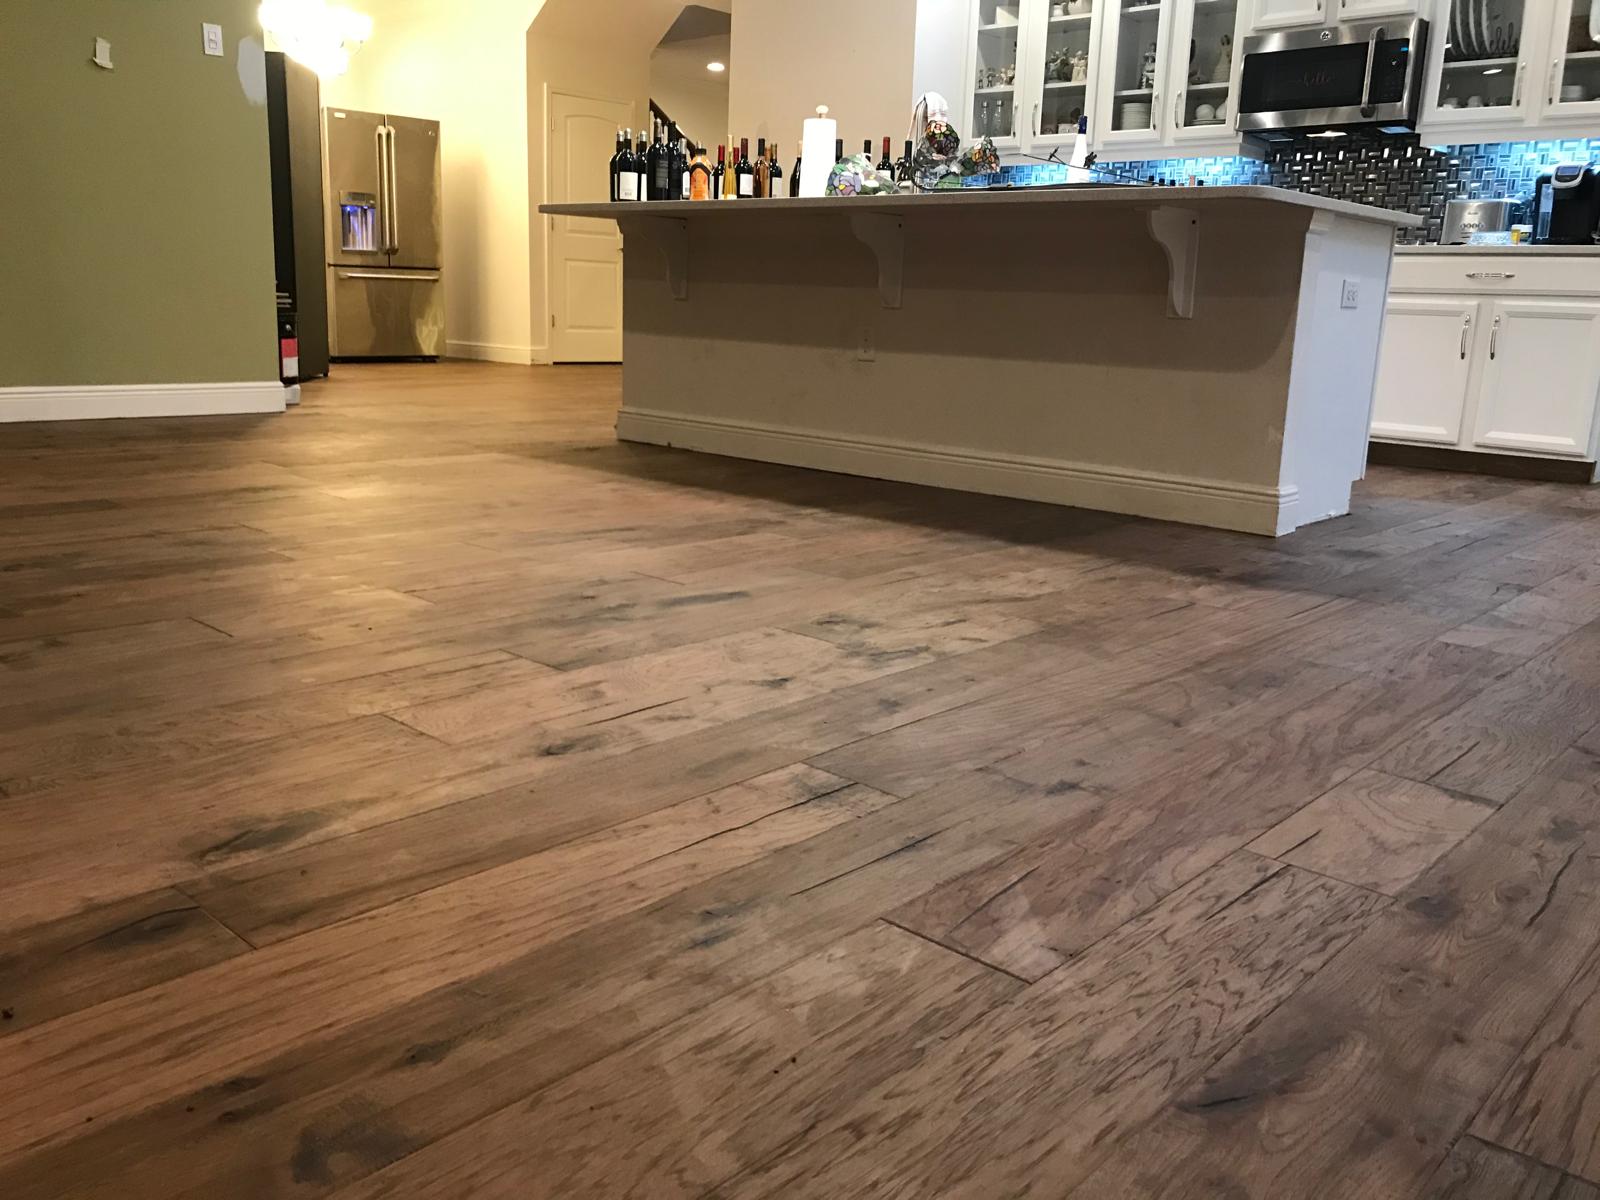
The project centered on a warm, wide-plank hardwood floor that would
visually connect the kitchen, living area, and adjacent spaces. The open
layout meant the plank direction, transitions, and end-joint pattern had
to be planned before adhesive was spread. The goal was a continuous
finished floor rather than a series of disconnected rooms.
Wide-plank solid hardwood presents specific installation challenges
because each board has more surface area to respond to changes in
moisture and indoor humidity. In a Florida home, careful acclimation,
slab readings, adhesive selection, and perimeter expansion space all
matter. The team checked the installation conditions before beginning
and kept the work area controlled throughout the process.
Our process for this project included:
Moisture testing: Concrete slab readings taken across
the work areas before hardwood installation began.
Subfloor prep: The slab was checked for flatness and
prepared so the adhesive could create consistent contact beneath the
planks.
Specified adhesive system: Full-spread flexible
adhesive applied with a notched trowel according to the flooring and
adhesive manufacturer’s requirements for the tested slab conditions.
Perimeter expansion gaps: Expansion allowance
maintained at all walls, cabinets, and fixed objects.
Staggered layout: End joints staggered by at least 6
inches for both structural integrity and visual appeal.
Stair coordination: The main-floor layout was planned
alongside the matching hardwood stair treads so the transition between
levels felt intentional.
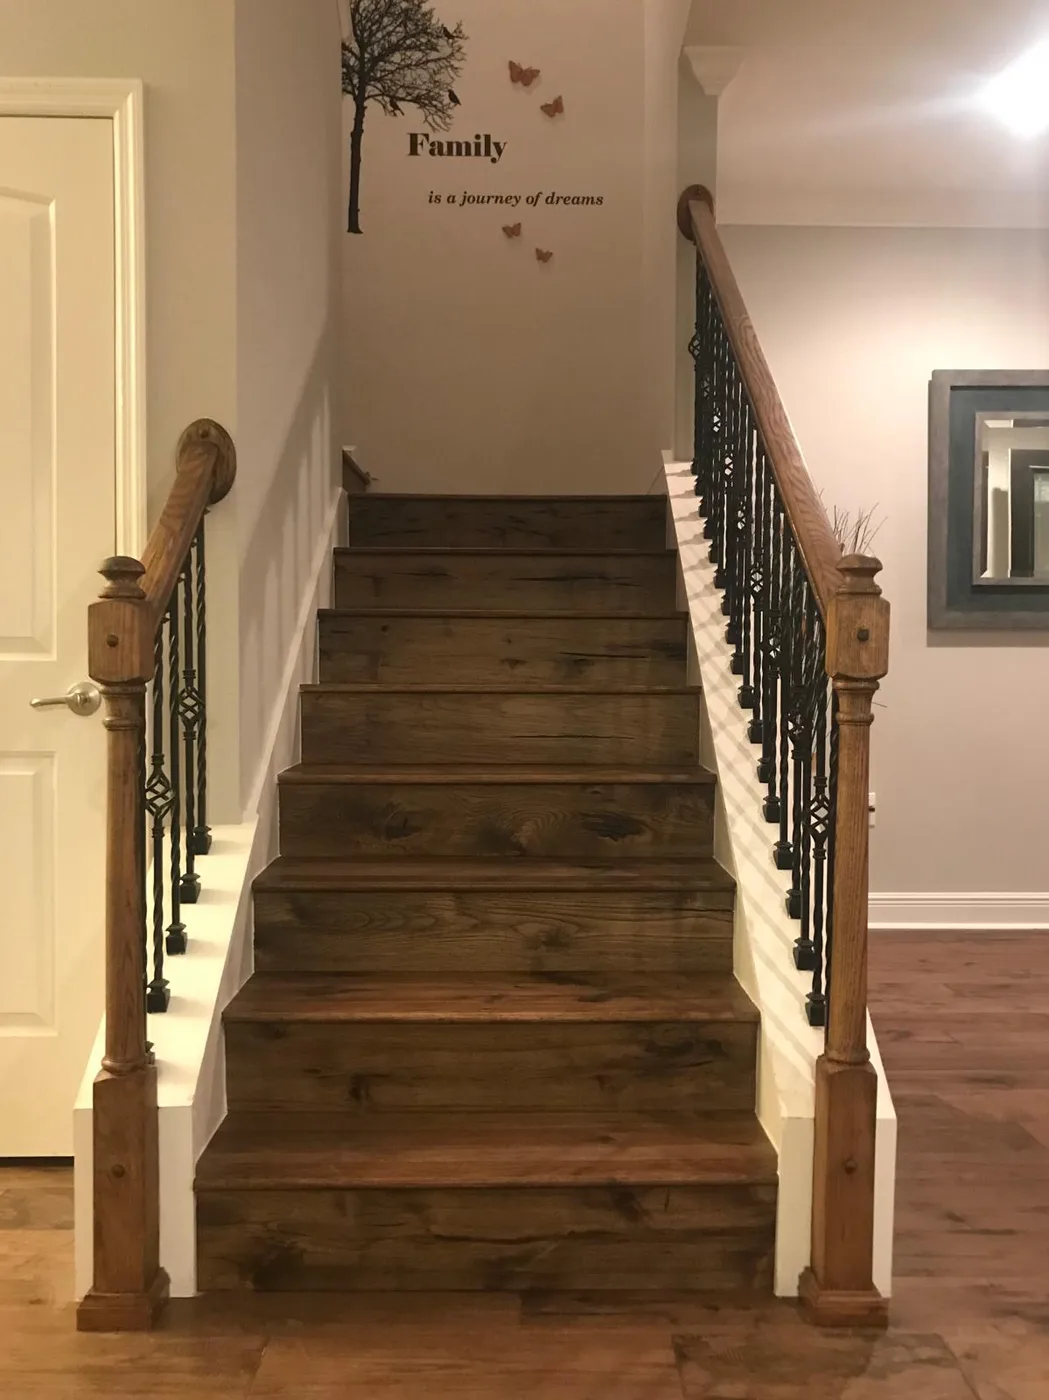
Matching hardwood stair treads installed to continue the floor
design between levels.
Matching Hardwood Stairs
The stairs were finished with matching hardwood so the transition from
the main floor felt intentional and cohesive. This is an important part
of a complete
hardwood flooring installation: stair treads require individual measuring, fitting, and edge
detailing, so they cannot be treated like simple rectangular room
planks. Each tread was fitted to the existing stair geometry, bonded
securely, and coordinated with the surrounding floor for a clean visual
flow.
Because stairs are a high-traffic connection between levels, the
installation also had to account for durable nosing details, consistent
alignment, and a secure bond at every tread. The finished staircase
carries the same material language as the main floor instead of looking
like a separate add-on.
Matching stair treads, risers, and nosing in the same species and
finish as main floor
Individual tread measurements for a clean, consistent fit
Full-spread urethane adhesive throughout — no hollow spots
Coordinated plank direction and transitions from the living areas to
the stairs
Project Challenges
The biggest challenge was that the client was living in the home
throughout the installation. The flooring could not simply be cleared
from the entire house and left empty for a week. Furniture, daily
access, cooking routines, and the client’s belongings all had to be
considered while still giving the adhesive and hardwood installation the
uninterrupted working conditions they required.
Instead of dragging furniture across unfinished or newly installed
flooring, the team divided the work into manageable sections. Furniture
was moved out of the active room, consolidated in a protected area, and
repositioned only when that section was ready. This room-by-room
approach reduced unnecessary disruption and kept the client from having
to move every possession out of the home at once.
Furniture relocation: Tables, seating, cabinets, and
other movable pieces were carefully cleared from each active work zone
before demolition or preparation began. Items were moved deliberately
rather than dragged, reducing the risk of damage to the furniture and
the home.
Protected pathways: The team maintained a practical
route through the home for the client and installers, protecting
adjacent finished surfaces and keeping traffic away from wet adhesive
and newly bonded planks.
Room-by-room sequencing: Work was organized so one
area could be prepared and installed while other parts of the home
remained available. The sequence helped the client maintain access to
essential spaces instead of losing use of the entire main floor.
Adhesive cure planning: Freshly installed flooring
needs time before furniture and regular foot traffic return. Furniture
placement and the next work area were coordinated around cure
requirements so the floor could set without being disturbed.
Dust and surface protection: Openings, nearby
finishes, cabinets, walls, and remaining belongings were treated as
part of the installation plan. Keeping the active zone controlled
helped limit dust migration and protected the home’s existing
finishes.
Detailed final placement: After each section was
ready, furniture was returned with care and placed to avoid damaging
the new hardwood. Felt protection and sensible furniture positioning
help preserve a glue-down floor after installation.
That coordination is what separates an occupied-home flooring
installation from an empty new-construction project. The result was a
finished hardwood floor that looked continuous and custom, while the
client’s home and daily routine were respected throughout the work.
Why Glue-Down Hardwood in Florida?
On a concrete slab, the correct hardwood installation method depends on
the flooring manufacturer, slab moisture conditions, adhesive system,
and project requirements. For this St. Cloud project, a full-spread
glue-down installation was selected after the slab was tested and
prepared. The adhesive created consistent contact beneath the flooring
and produced a solid, quiet feel while accommodating the normal movement
expected from real wood.
That system was selected for this home’s tested conditions and the
manufacturer’s installation requirements rather than as a universal rule
for every Florida project. Moisture readings, slab preparation,
compatible adhesive, flooring specifications, expansion planning, and
indoor humidity control all remain important to long-term performance.
Hardwood Flooring Services in Central Florida
Cavalieri Flooring installs solid hardwood, engineered hardwood, and
bamboo throughout the greater Orlando area and Central Florida. Every
hardwood installation includes a full subfloor moisture assessment and
prep — no shortcuts.
Contact us for a free in-home estimate, or
browse our hardwood collections to
start choosing your flooring.
Completed glue-down hardwood flooring in the St. Cloud, Florida home.
Frequently Asked Questions
Yes, but it requires careful preparation and moisture testing.
Florida's high humidity and slab-on-grade construction means moisture
readings must be taken before any hardwood goes down. Cavalieri
Flooring performs a full moisture assessment and subfloor prep —
including leveling and any necessary moisture mitigation — before
every solid hardwood glue-down installation.
The right method depends on the flooring manufacturer, adhesive
system, slab condition, moisture readings, and project requirements.
When the flooring, adhesive, and slab conditions are compatible, a
full-spread glue-down installation helps stabilize the flooring and
can reduce movement while providing consistent contact and a solid,
quiet feel.
Wide-plank hardwood may be suitable when the flooring, adhesive, slab
conditions, moisture readings, and manufacturer instructions are
compatible. Wider solid-wood planks can be more sensitive to moisture
and seasonal movement, so the installation system should be selected
case by case rather than treated as a universal recommendation.
With proper installation and maintenance, solid hardwood floors in
Florida can last 30–50 years or more. Key factors are: proper moisture
control during installation, a sealed finish, HVAC-controlled indoor
humidity (35–55% RH year-round), and regular cleaning with
hardwood-appropriate products. Glue-down installations are more stable
than floating in Florida's climate.
Yes. We install hardwood stair treads, risers, and nosing as part of a
complete whole-home installation. Our stair work uses the same species
and finish as the main floor for a seamless look. Treads are glued and
mechanically fastened for long-term stability and silence.
Yes. An occupied-home installation requires careful planning,
room-by-room sequencing, protected pathways, and coordinated furniture
relocation. Cavalieri Flooring can divide the work into manageable
sections, keep traffic away from active adhesive and newly installed
flooring, and return furniture only after each area is ready for
normal use.
Visit our Orlando showroom or send us the basics of your project.
We’ll review your flooring needs and follow up about a free in-home
estimate, including moisture assessment and installation planning.
Visit Our Showroom
4301 36th St, Unit 101, Orlando, FL 32811
Request a Free Hardwood Estimate
Tell us about your hardwood, glue-down, stair, or occupied-home
project.